tg71771 wrote:John, sounds like your germination rates are very good, would be interested to know more about the method you use.
I've just purchased a few different varieties from the German lady to try out.
I was planning on building a heating box to put the seed trays on.
Her site
http://www.exotic-plants.de suggests keeping the seeds at 86F in cat litter.
Has anyone tried this method of germination?
Never tried the kitty litter, sounds like it *might* be valid.
Through a lot of trial and error and over 400 bamboo seeds I've hit upon this method:
0) Get the freshest seeds possible. Ideally just harvested within the last 90 days. If they are older than that expect less germination and adjust accordingly by buying more seeds. Some species seem way more viable when older than others and I haven't worked it out fully yet but best results are obtained with fresh seeds. As far as I can tell the majority of fresh seeds are harvested in May-June if they are coming from China. Ph. Pubscense "moso" I have been told is an exception coming in the fall instead.
1) Get some anti fungal solution, the kind you get in garden centers to prevent "damping off". I use a product called "no damp".
2) Mix up the solution, get a set of short drinking glasses or shot glasses depending on how many seeds you have.
3) Find a warm place you can keep the glasses for at least 48 hours where the temperature will be as warm as possible but *never* go over 100f to be safe. Weed seeds are reportedly killed quite reliably at 131f or higher so it's not clear where the dividing line between faster germination and death occurs but I have never used a heating mat and have germinated fresh seeds at room temperature many times.
4) Put each type of seed in it's own glass fill up with the anti fungal solution mixed to manufacturers directsion. Some seeds will sink, some will float. So far I've found no difference in germination, I think it's just air trapped in the husk around the seed.
5) Label each glass if you have many varieties. You will be labelling a lot at every stage.
6) Soak the seeds. I've found fresh seeds will start to germinate within 48 hours while soaking, you could use this as a way to separate viable seeds but I wouldn't count on it. I soak for 48 hours either way.
7) Prepare your growing container with a damp medium of some kind in it. Of course fresh seedlings supply their own food so you can grow in perlite or anything, however I tend to leave mine to develop as many roots as possible before removing them to their own pots so I use a seedling mix that contains rooting fertilizer as well as perlite and peat moss etc. It basically looks like very organic dirt in the bag and is very fine which makes it easier to remove them later on. I used to use peat pots but it's a real hassle keeping them all hydrated, you can't fit as many into a mini greenhouse and since many don't sprout it's a waste of peat pots. What I use is a mini greenhouse with a clear plastic lid, the seedling mixture and some more freshly mixed anti fungal solution to wet it down. You want it damp but not so wet you can sqeeze water out of it. I just wash my hands thoroughly to prevent infection of the growing medium, dump in a good amount leaving a bit of head space at the top then pour in the anti fungal solution a bit at a time mixing by hand until it's right. then I flatten it all out and plan out the rows and columns to fit the seeds in.
8 ) Plant the seeds, leave enough room between each one so that you can fit a kitchen fork in under the seedlings to pull them out later, i.e. pretty tight together. When they are tiny the roots are not easily entangled or at least not to the point you can easily separate them just by lifint one out. The seeds you get will either be pointy like grains of rice or a roundish ball which is the inside bit from the husk but the husk has worn away. If they are pointy the seedling emerges from the blunt end so you can just push them in so the blunt end is just covered by soil. In either case plant them about a seed height under the growing medium. That is very close to the top for the tiny seeds, almost laying on top but slightly covered.
9) Cover the trays and keep them in a warm place but at all costs avoid direct sunlight shining into the greenhouse. Sun can quickly raise the temperature inside to killing levels. I personally put them on a rack in my office at home high up so they get the warmest air but don't use a heating mat of any kind. The heating mats I've seen you can't set an accurate temperature, all they say is something like "raises the temperature by 15 degrees over ambient" which sounds flakey to me.
10) Leave them to sprout. The majority of mine have sprouted within 2 weeks if the seeds are fresh but some have taken months. Basically you can leave them covered in the trays with a little indirect window light (or LED grow light) once they've sprouted up until the point that they are too tall and start touching the plastic lid at which point they *have* to be removed as they should not be left touching the lid at all.
11) Use a kitchen fork, gently ease it in beside the sprout and hook it upwards like your digging up some mashed potatoes to eat. Gently pull it up and you should get the seedling, a small ball of soil at the bottom of it and sticking out of the ball of soil a root that slides out and is longer than you expected but undamaged.
Plant them in small pots, I've found a 3 inch is ideal. I use again more of the seedling mix as it's designed to promote root growth and that's what you want. It's easiest to use dry seedling mix because you can make a little well that conforms to the seedling and it's tap root and basically lay it in without having to put any pressure on any part of the plant at all.
Make sure to leave head space in the pot for watering or else the water will just run off the soil and over the edge of the pot. I.e. plant them halfway down or slightly above that. Once the seedling is layed in, gently shake the pot to cover the root or gently move the dirt around with the fork to cover it.
When all the seedlings are planted put the pots in the base of a mini greenhouse (or a sink with the plug in) and fill the base with room temperature water and let the pots soak up the water from the bottom until you see the top of the soil look wet.
This way you're not washing them away by watering from the top. The seedling growing mix holds it's water for quite some time so it's ideal as you don't have to mess with them too much. Put the pots in a place where they can get indirect sunlight and aren't subject to too much cold or wind. If they were started inside and you want to go outside you will have to harden them off, this should take at least a week and there are lot's of guides to hardening off online. This is the easiest stage to kill them so do it carefully if you want to put them outside.
You can water them in future from the top but you have to be really careful, I use a turkey baster to water them from the top when necessary.
I've experimented with putting a little bit of nursery slow release outdoor plant food pellets on top and also tried liquid organic fertilizer, neither seems to make a bit of difference in my opinion but I was quite light with both so possibly it wasn't enough to matter, I didn't want to kill them by overfeeding them.
12) For any that haven't sprouted after some time that you don't want to completely give up on you can simply punch some holes in the bottom of the mini greenhouse tray (carefully from the bottom without spilling out the growing mix) or drill them is even easier and set the tray out in a shady location that can get rain etc and just leave them. If they don't sprout by winter you can just toss the bunch.
I find it easiest to grow them up under red/blue LED grow light panels which consume very little power and don't generate any heat. They can easily be mounted to the bottom of a shelf in a shelving unit and the tray put under them and the bamboo grown until the weather outside is warm enough to start hardening off to go outside.
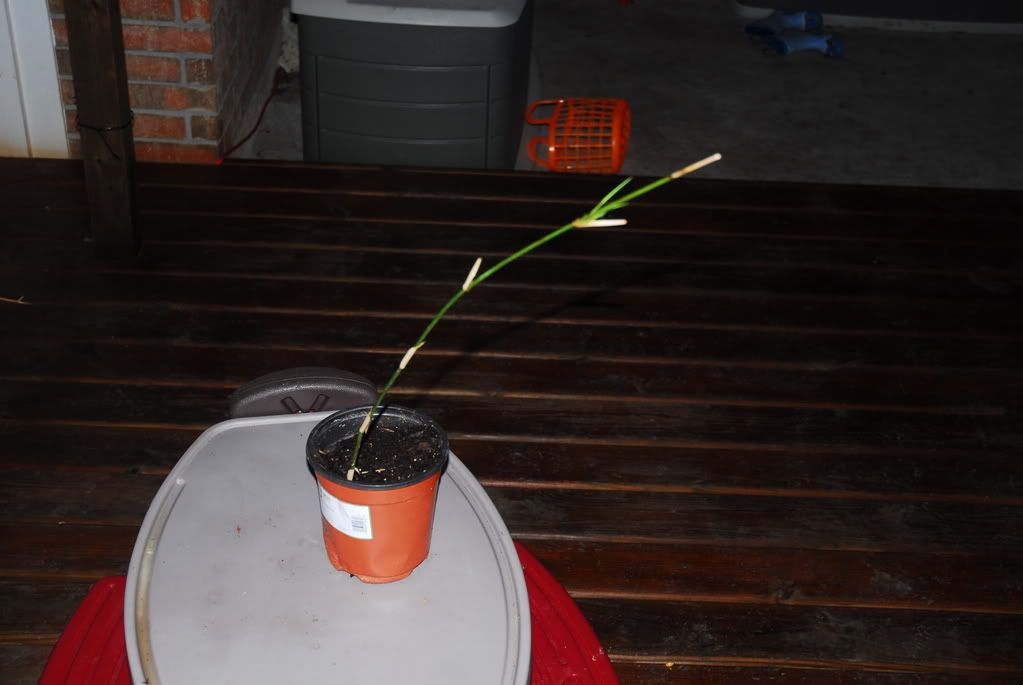
So far in my experience you will get a bit of strong growth at first with usually one culm for most varieites then two tiny culms then as early as 10 months later you will start to get the more serious and recognizable though tiny culms coming up. (I've only been doing this a year. My MOSO's from last fall are just now putting up a new culm but I really damaged them with fungus damping off so that might have delayed them as well).
Also if you have cats watch out as they will like to nibble off the sprouts which is very annoying.